Predefined task templates
Predefined task templates are reusable task definitions you create once in Settings. When you create a new case that matches the template’s categories, all associated tasks automatically appear on that case.Ad-hoc tasks
Ad-hoc tasks are created directly on a specific case when needed. They’re perfect for unique requirements that don’t fit your standard templates.Creating predefined task templates
Navigate to task template settings
Click on Settings in the main navigation menu.Select Cases from the settings menu.Click on the Tasks tab.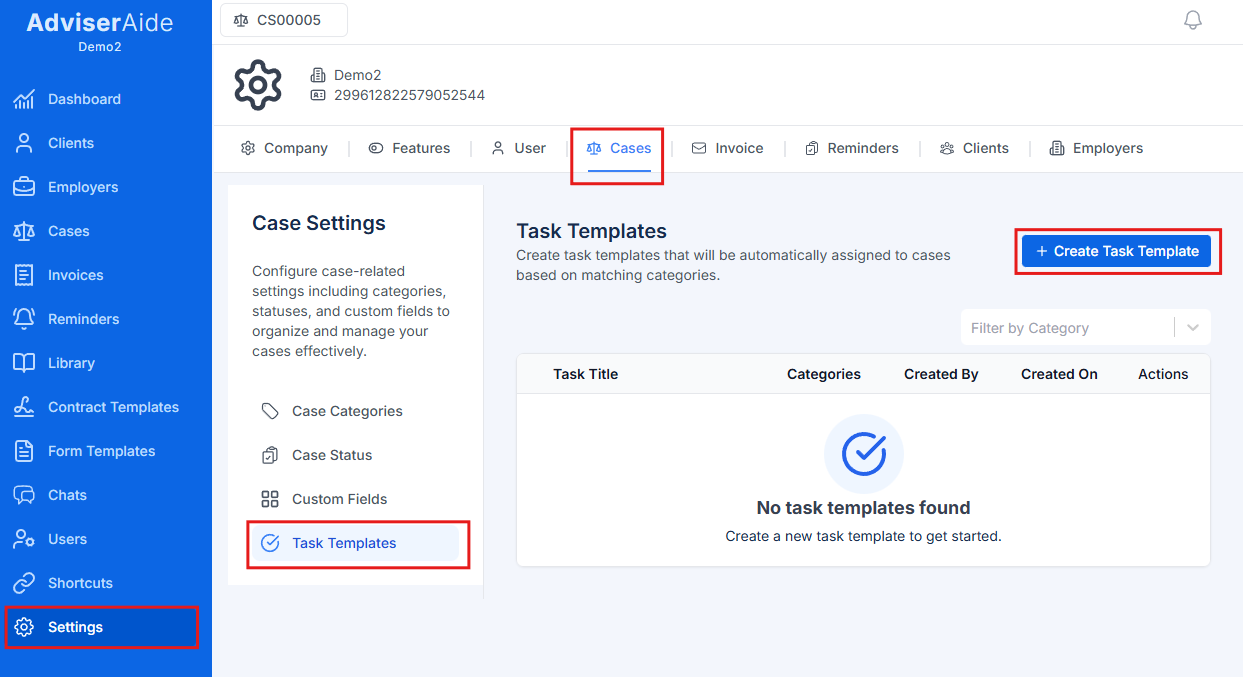
Enter task template details
Fill in the following information: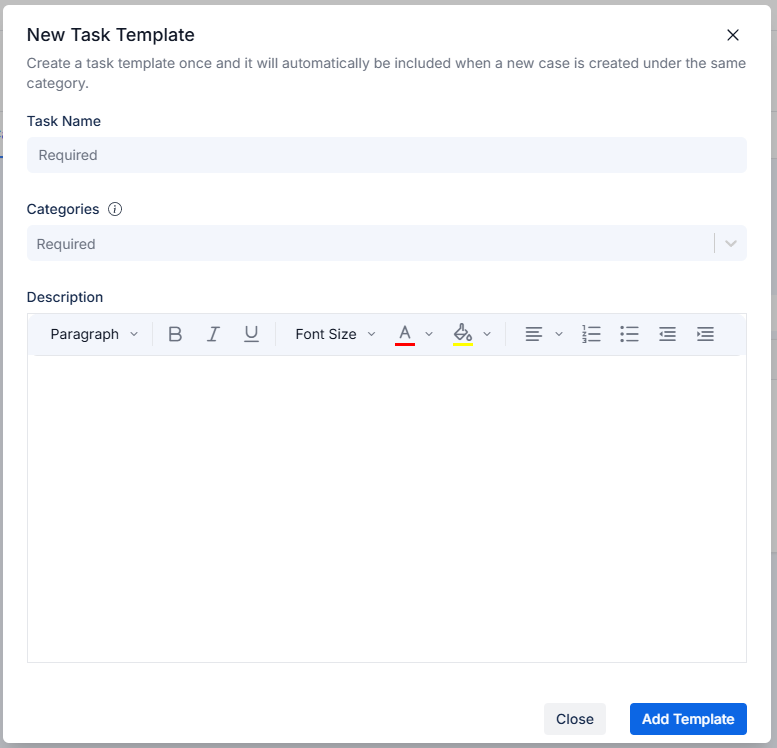
- Task Name (required) – Enter a clear, action-oriented name (e.g., “Verify Employment Letter”, “Submit Application to Immigration”)
- Categories (required) – Select one or more case categories. The template will automatically assign to cases matching these categories.
- You can select “All” to assign this task to every case regardless of category
- Description (optional) – Add detailed instructions or notes about the task. Use the rich text editor to format instructions, add links, or create lists.
Creating ad-hoc tasks on a case
Sometimes you need to create a task specific to one case. To do this, simply go to the case and click on the Add Task button: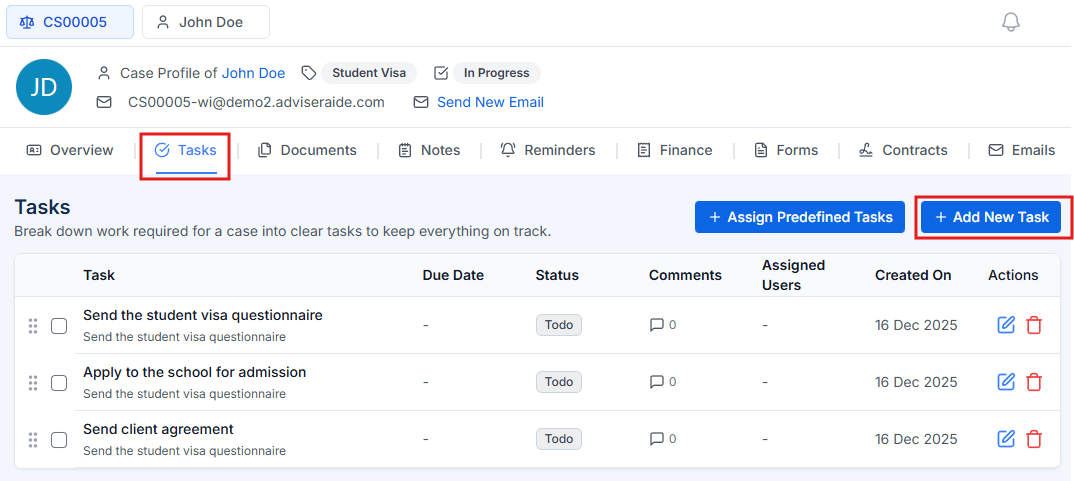
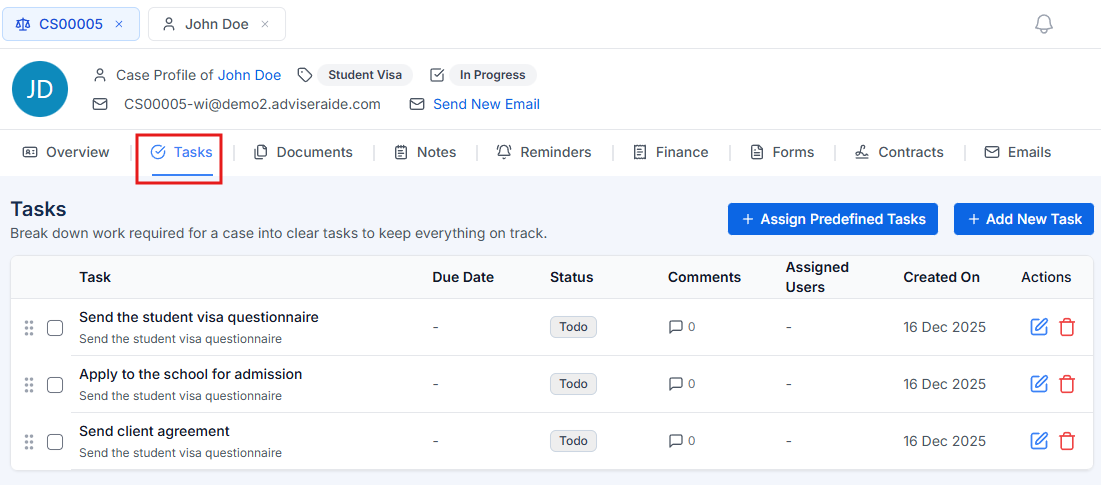
Comments
When viewing or editing a task, users can leave comments to keep everyone informed about the task’s progress and any blockers.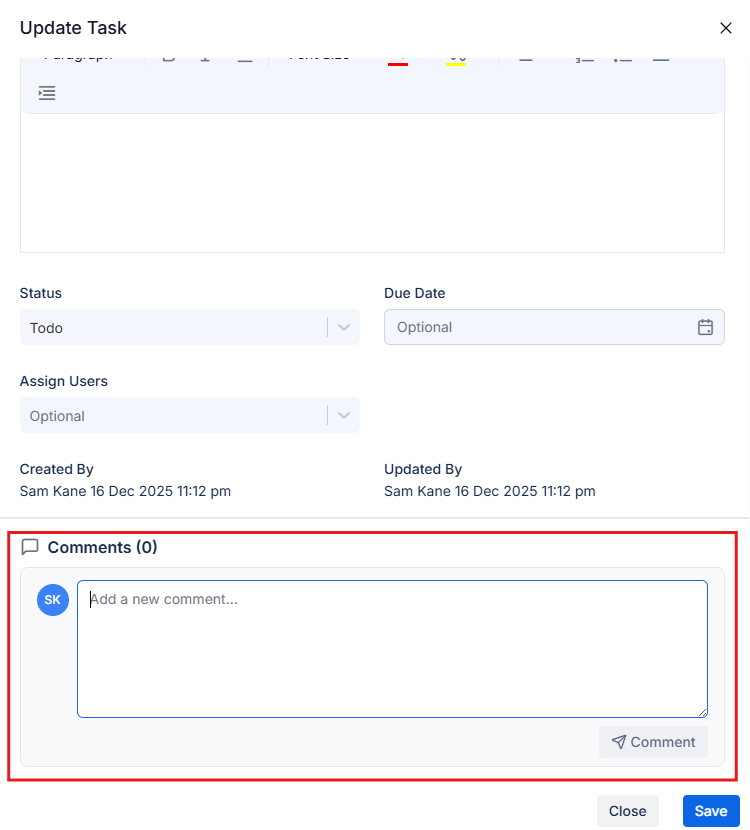
How automatic task assignment works
Case is created
When you or a team member creates a new case and selects its category (e.g., “Student Visa”), the system instantly checks for matching task templates.
Matching templates are found
The system identifies all task templates whose categories match the new case’s category.For example, if you created these templates:
- “Verify Enrollment Letter” (Categories: Student Visa)
- “Check Financial Documents” (Categories: Student Visa, Work Visa)
Next steps
Creating Cases
Learn how to create cases that will automatically receive your task templates.
Case Profile
Explore all features available on the case profile page, including the Tasks tab.
User Management
Set up team members who can be assigned to tasks.
Case Categories
Configure case categories that determine which tasks auto-assign.