Accessing Custom Field Settings
To create custom fields, navigate to Settings and select either Clients, Cases, or Employers, then click on the Custom Fields tab.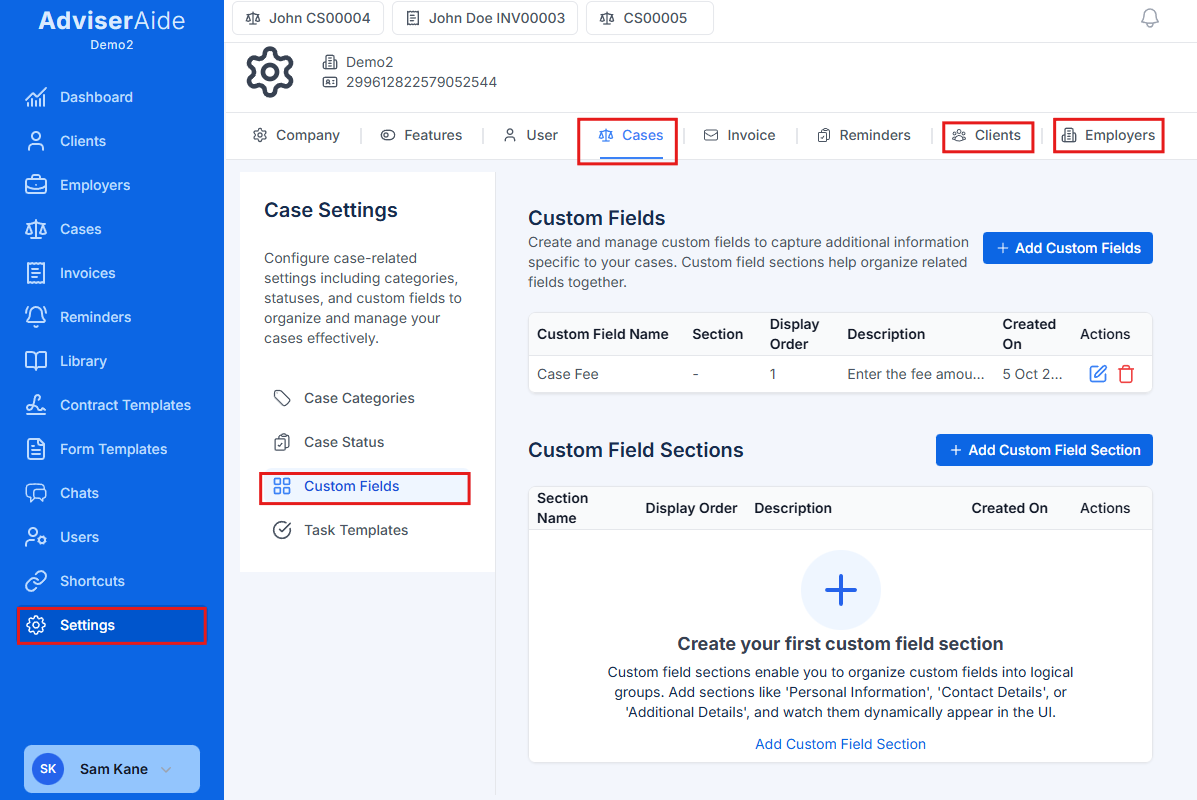
The screenshot above shows the Cases custom fields page. You can switch between Cases, Clients, and Employers tabs to create custom fields for each.
Creating a Custom Field
Custom fields can be added individually to clients, cases, or employers. You can also organize them into sections.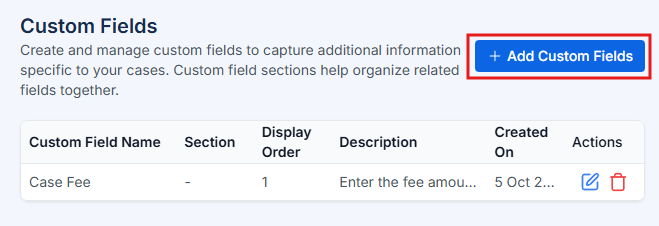
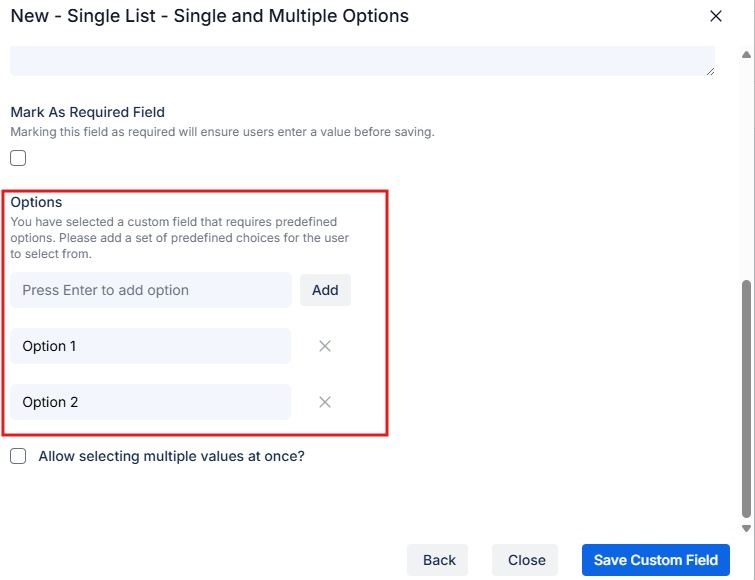
Select Field Type
In the Field Type popup, select the type of field you want to create (e.g., Text, Paragraph, Number, Decimal, Date, Date & Time, Checkbox, Dropdown).
Fill in Field Details
Fill in the details on the Create Custom Field form:
- Field Name (required): Enter a clear, descriptive name.
- Description (optional): Add helpful instructions or details about the field.
- Required Field: Enable if this field must be filled out before saving.
- Full Width: Enable to make the field span the entire width of the form.
- Display Order: Enter a number to determine the field’s position (lower numbers are shown first).
- Section: Select which section to group this field with (optional).
- Categories (Cases only optional): Assign the field to specific case categories.
Creating a Custom Section (Optional)
Sections help organize related custom fields into logical groups. Create sections before adding fields so you can assign fields to sections.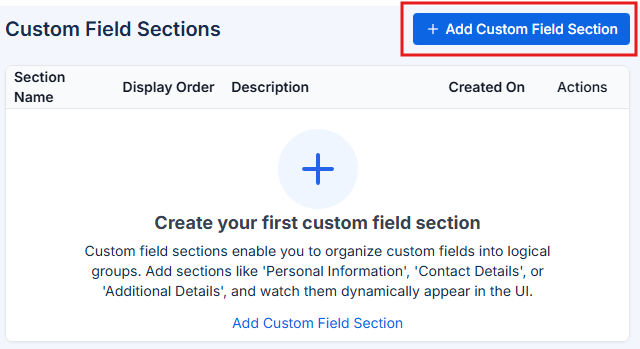
Configure Section Details
Complete the following fields in the section configuration form: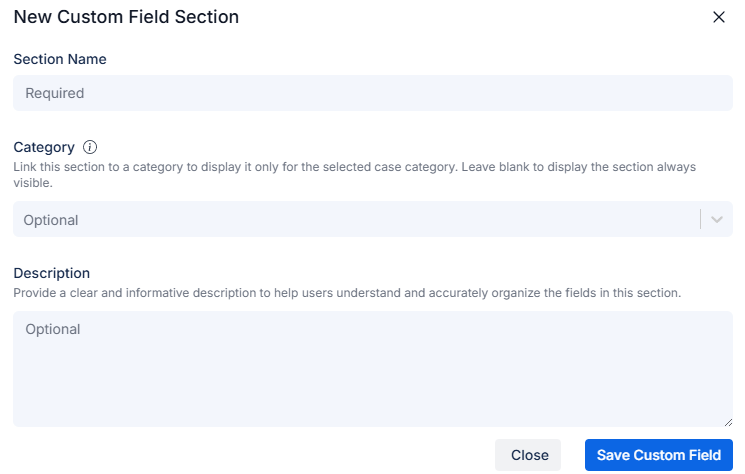
- Section Name (required): Enter a descriptive name, such as “Travel History” or “Employment Details”.
- Description (optional): Provide a brief explanation of the section’s purpose.
- Display Order: Assign a number to determine where this section appears (lower numbers are shown first).
- Categories (Cases only): Select one or more case categories to limit the section’s visibility to specific case types.
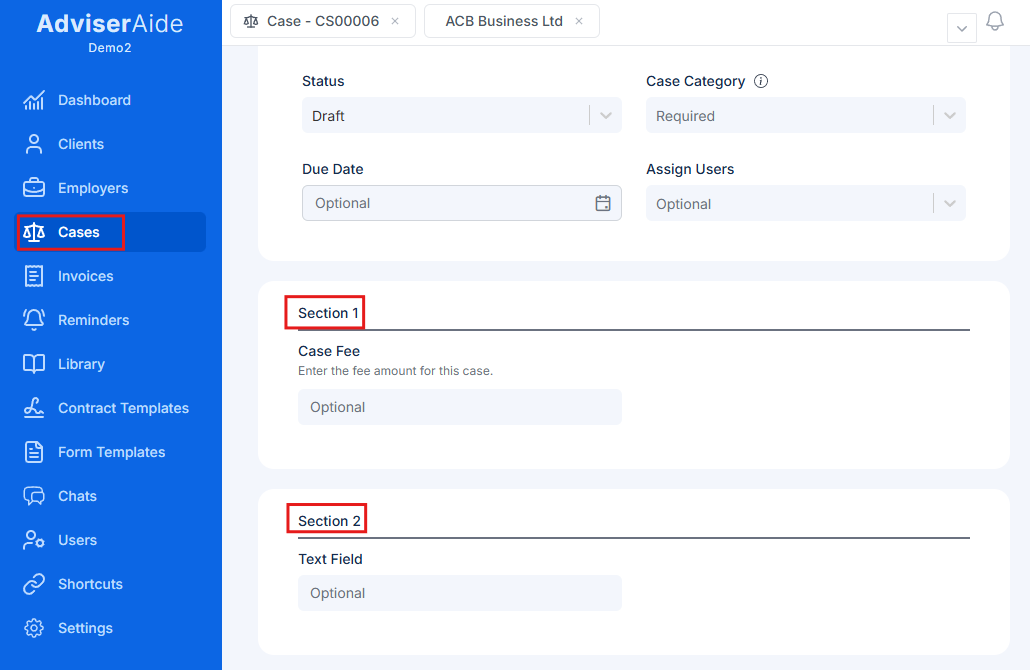
Verifying Custom Fields
After you create a custom field, it should automatically appear in the corresponding profiles. For example, if you create a custom field for clients, it will be visible in the Create Client form and the Client Profile. Similarly, custom fields added for cases or employers will display in the Create Case, Create Employer, Case Profile, and Employer Profile screens. Example - Case Fee Field in Create Case