Creating an invoice for a contact to pay
Create a new invoice
On the invoice create screen, you’ll see a new dropdown menu labeled Client Contact (see highlighted field below). This dropdown lists all contacts associated with the client.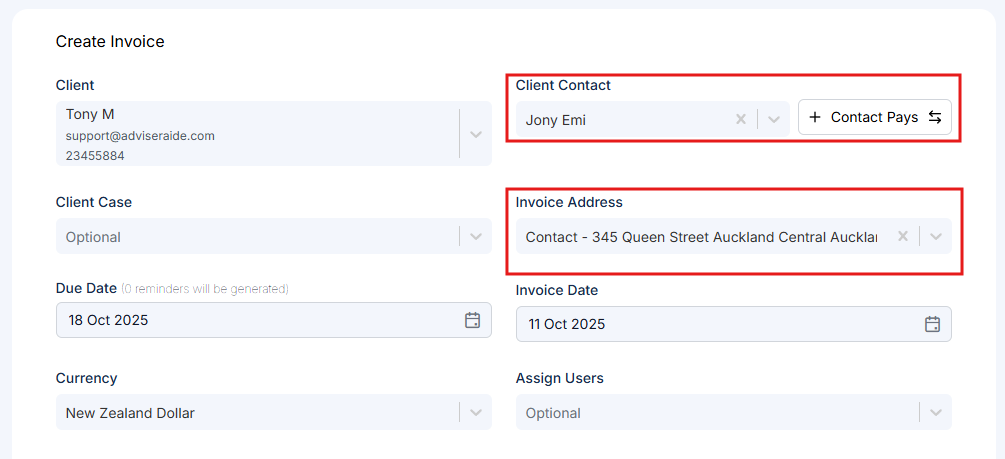
Select who will pay the invoice
Choose the right contact and click the button next to the selected contact to choose who pays the invoice. In the above example, we’ve selected Contact Pays.
Choose the correct address
In the same screen, you’ll notice that the invoice address dropdown includes both the client’s and the contact’s addresses. Select the appropriate one.
Sending the invoice to the contact
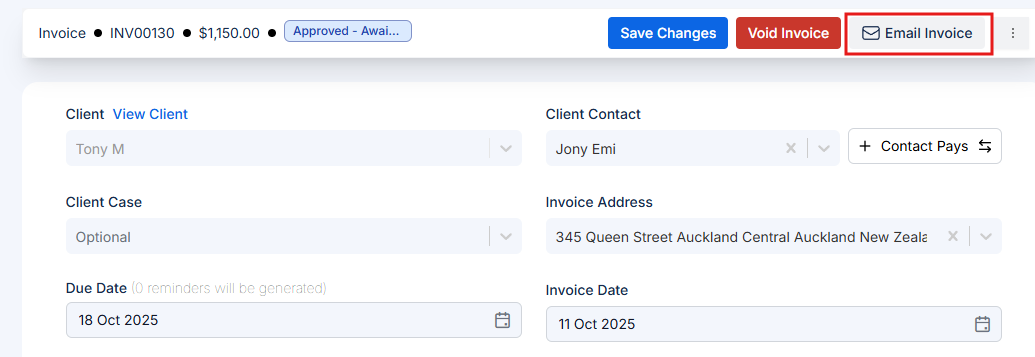
Update the email content
The following email screen will open, showing the invoice addressed to the contact selected in the invoice. There is one small problem, the email body and subject line on the left is still addressed to the main client (e.g., “Tony M”). To fix this, simply update the subject and message to address the contact instead.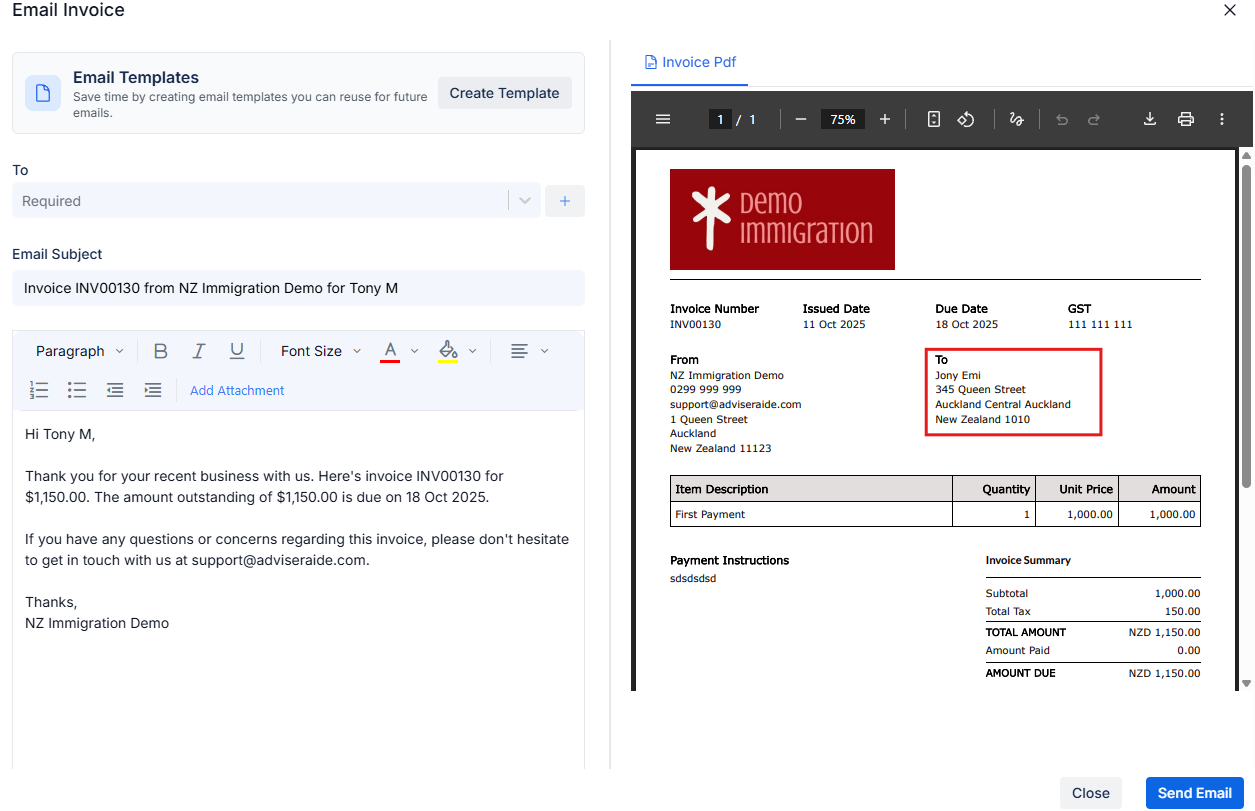
Send the invoice
Once the subject and body are updated, double-check that the correct contact is selected in the recipient dropdown, then click Send Invoice.
Create an email template (recommended)
If you frequently send invoices to contacts, we recommend creating an email template for this purpose. You can follow the instructions on Email Templates page to set it up the templates.