Navigate to the Clients page
Log in to your AdviserAide account and make sure you are on the Clients page. The navigation pane on the left shows a list of modules. Click on the highlighted client menu.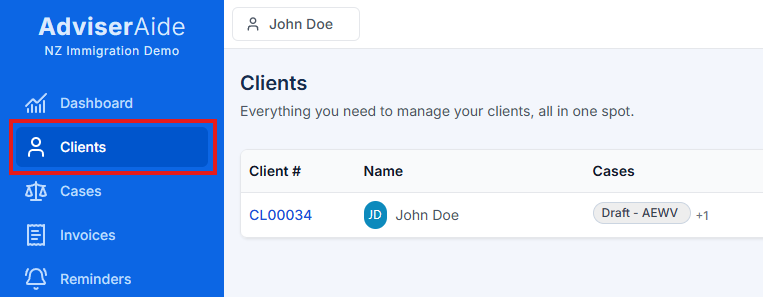
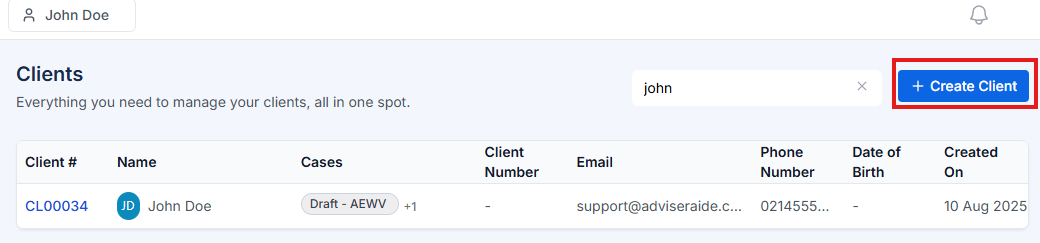
Fill in the client details
The Create Client form opens. Fill in the required and optional fields:
- First Name (required) – enter the client’s given name.
- Last Name (optional) – enter the family name if applicable.
- Email and Phone Number (optional) – provide contact details.
- Date of Birth (optional) – click the calendar icon and choose a date.
- Time Zone – this defaults to Pacific/Auckland but you can select another time zone from the dropdown.
- Client Number and Business Name (optional) – use these fields for internal reference. Client Number is often used by advisers to store immigration applicant number.
- Assign Users – choose the staff members who will manage this client. Use the dropdown to select one or more users.
- Description – add notes about the client (up to 500 characters).
Link employers (optional)
In the Employers section, you can link employers to track employment history. You have two options: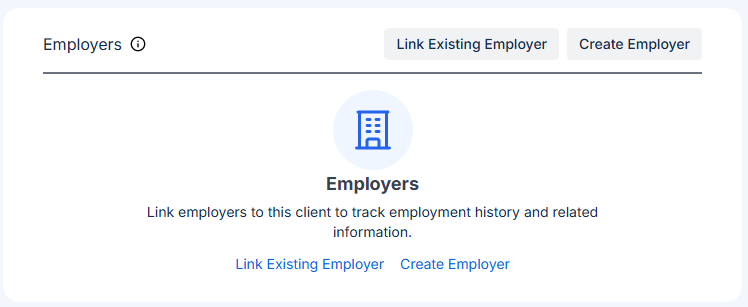
- Link Existing Employer – Search and select an employer already in your system. You can specify employment start/end dates and add a description.
- Create Employer – Create a new employer profile and immediately link it to this client.
Add an address
To add an address, click Add Address in the Client Address section. A modal opens: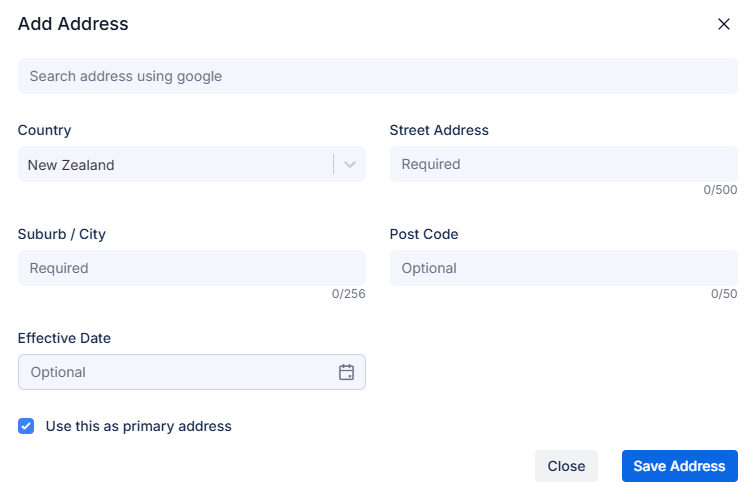
- Search for an address using the search box, or manually complete Country, Street Address, Suburb / City, Post Code, and Effective Date.
- Tick Use this as primary address if it should be the default.
- Click Save Address to add it, or Close to cancel.
Add family members and contacts
In the Family & Contacts section, you can link related people to this client: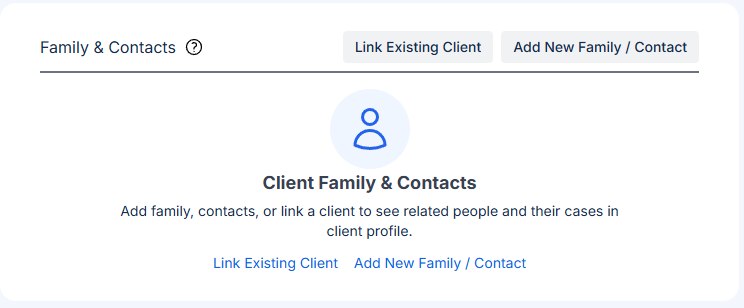
- Link Existing Client – Connect an existing client in your system (e.g., spouse, partner, parent, child). You can specify the relationship type, and their cases will also be visible.
- Add New Family / Contact – Create a new contact record for family members or other related contacts not yet in your system.
Next Step
Understanding the Client Profile
Learn how to navigate and use the client profile to manage client information and cases.